
Electrifying Shot Carino Build Torchlight Infinite
Carino build which uses Electrifying Shot to inflict deadly IgnitesElectrifying Shot Ignite Carino Build
Last Updated: 09 December 2022
Build Overview
When you think of Ignite Carino build, you most likely imagine yourself using the Burning Shot, but what if we've told you that you imagine it wrong? What if we've told you that, in the current state of Torchlight Infinite, Electrifying Shot scales Ignite much better than the Burning Shot does? We're dead serious here and the following build will prove it to you - just try it and find out for yourself.
The following Electrifying Shot Ignite Carino Build takes full advantage of the Ignite Mechanic by combining a range of powerful Legendary Items with very specific Stats to maximize DPS. It offers a 100% chance to afflict enemies with Bleeding and a 100% chance to Ignite them with 3 Stacks at once. Moreover, it can stack Ignite up to 4 times! When combined with enough bonuses to Ailment Damage and Affliction Effects, the above-mentioned traits result in cosmic levels of DPS.
You can also check our other Torchlight Infinite builds at The Best Torchlight Infinite Character Builds
 Pros Pros |
| Deals tons of Damage |
| Fun to play |
| Makes you feel that you use game mechanics to your full advantage |
 Cons Cons |
| Requires multiple specific Legendary Items to work |
| If you want to fully optimize, this build will get extremely expensive very quickly |
Talents
|
GODDESS OF DARKNESS |
|
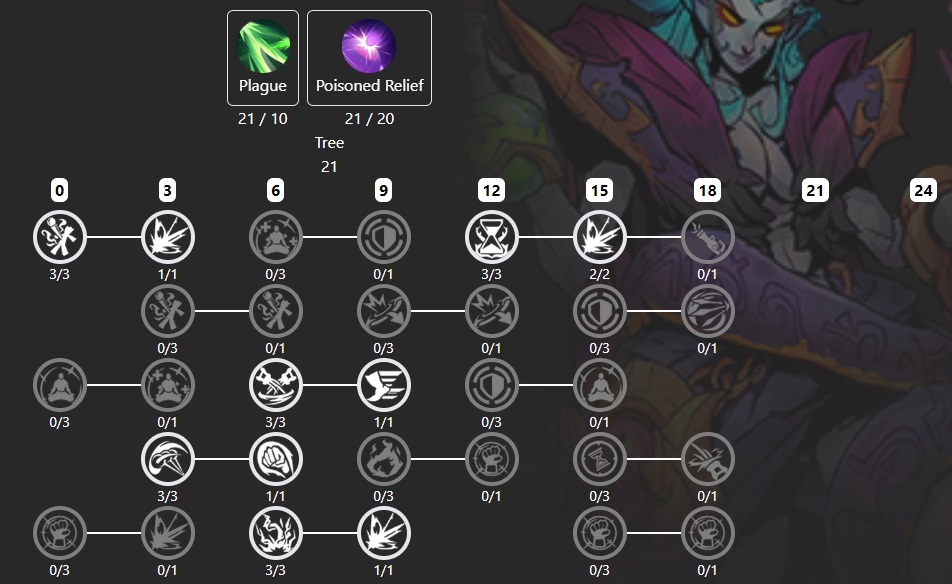
We choose Goddess of Darkness Tree because of the Plague Talent that it offers. With it, the build becomes much stronger against packs of enemies and thus its overall clear speed becomes even better. We also take Poisoned Relief for some extra defenses. Core Passives: Bonuses to Persistent Damage are a great addition to the build and thus we focus on them, adding a total of +96%. Injury Buffer is another high-value stat we're getting from this Passive Tree (a total of 10%). To close things off, we're also picking a +90% Critical Strike Rating and some Critical Strike Damage. Main Talents: Plague: 40% Chance for DoTs to Spread to Nearby Targets. +80% Persistent Damage Duration. This makes our DoTs spread like a disease and makes them last 80% longer, which is amazing. Thanks to this Talent, hitting a pack of mobs once is enough to apply DoTs to all enemies within that pack. Poisoned Relief: +30% Injury Buffer. This basically lowers all damage received by 30%, which is massive as we don't have a large Health Pool to soak up the incoming Damage with. |
|
PSYCHIC |
|
Psychic Tree is great for increasing the build's DPS. This is because Affliction Talent synergizes extremely well with Ignite, which results in a very high damage multiplier. Another reason for taking Psychic is Reap Purification, which is a mandatory Talent for the build as it allows us to deal 80% of our DoT Damage INSTANTLY. Core Passives: Ailment Duration and Damage are both very good to have on Ignite Carino, and thus we take +36% and +36% respectively (Ailment Duration is especially good as it turns into a Damage Multiplier when combined with Reap Purification). Affliction Inflicted Per Second is extremely strong when combined with Ignite, which makes it another solid pick (+9 total). Attack and Cast Speed as well as Curse Effect are also good. Main Talents: Affliction: +10 Affliction Inflicted Per Second. +75% Affliction Effect. This is great for increasing our Ignite Damage as Ignite has a very high base Ailment Affliction (and thus increasing it, especially with percentage-based modifiers like this one, is a good idea). Reap Purification: Settle an Additional 80% of the Remaining Total Damage When Reaping. Reaping Removes all the DoTs From the Target. This removes 80% of the DoT's Damage from the Target instantly, which is insane. It also removes all the dots, which allows you to re-apply them and Reap again! This scales incredibly well with the chance to apply DoTs and is the reason why we want to have as close to a 100% chance as we can. |
|
WARLOCK |
|
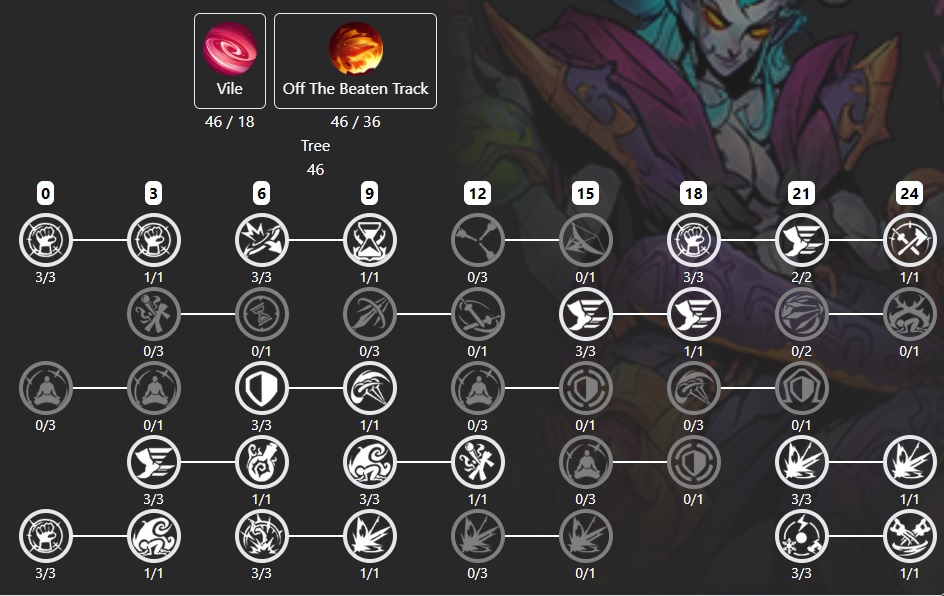
Warlock Tree ends up being the main Skill Tree of this build (at least when it comes to the number of points we invest into it). The Vile Talent it offers gives us a very high Damage increase as, thanks to Reap, Ailment Duration basically equals to Damage Multiplier. In other words, Vile combined with Reap results in us dealing Double Damage essentially. Core Passives: The Critical Strike Rating offered by the Warlock Tree is hard to pass up, especially if we take Vile into consideration (had thus we take a total of +90% of it). A flat Damage Bonus is always good, so we take +96% in total. +10% Ailment Duration equals more Damage as well. Chance to Cause Ailments is a mandatory Pick if you're not running Dirty Tricks. Picking up the Ailment Damage Ignores Resistances node is also a must. Another must-have pick is the node that gives us +1 to Maximum Energy Charges as it allows us to use Skills 1 additional time before they go on Cooldown. We close things off with Cooldown Recovery Speed, which is hard to pass up on any build. Main Talents: Vile: Duration of Ailments Caused by Critical Strikes is Doubled. +1% Additional Ailment Damage per 3% of Critical Strike Damage. I The longer the Ailment Duration, the higher the instant Damage from Reap. because of this, Vile is a mandatory pick for the build. Off The Beaten Track: +3 to Support Skill Levels. Support Skill's Mana Multiplier is set to 105%. This is a great way of adding some more Damage to the build. Also, it works great with any Support Skill that has a base mana multiplier higher than 105%. If your Gear is on the low end, you should pick Dirty Tricks instead as guaranteeing yourself to inflict Ailments will make you much more consistent right from the start. |
|
HERO TRAITS |
|


SKILLS
| ACTIVE SKILLS |
|
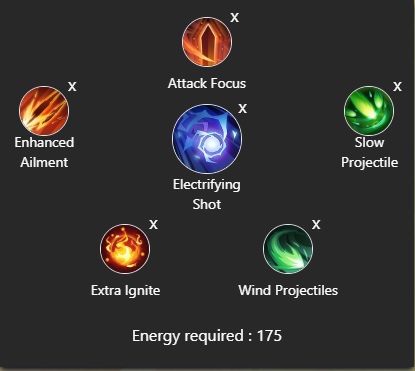
Fire forward a Projectile that has a high chance to Shock enemies and always Pierces enemies. Electrifying Shot converts 50% of the Skill's physical Damage to Lightning Damage. This is our main offensive ability. We use it to apply and reap our DoT effects, which results in astronomic levels of Damage. Support Skills:
|
|
Charge forward and gain a bonus that increases the Damage of your next Projectiles. This is a solid mobility Skill that not only allows us to move quickly but also increases our offensive capabilities. Support Skills:
|
|
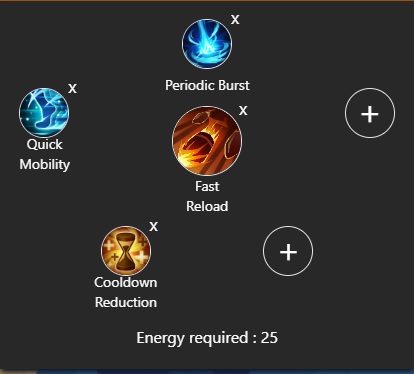
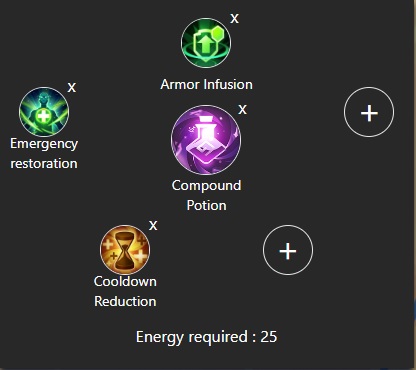
Restores Life and Mana in the Skill Duration. The restoration stops once your Life and Mana are full. This is a solid sustain/support skill that will replenish our resources, providing us with much-needed sustainability. It will also improve our defenses while it's on cooldown (thanks to Armor Infusion). Support Skills:
|
|
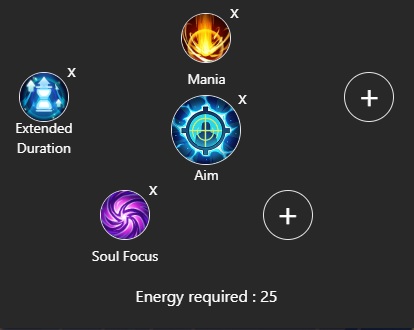
Reduces your Movement Speed but gives you 1 stack of buff at regular intervals. Additionally, Aim increases Ranged Skill Damage Dealt. Effects of Aim stack up to 5 times and are reset when you use a Mobility Skill. This allows us to deal increased damage when we remain stationary, which is great (but can also be a bit problematic during dynamic encounters). Support Skills:
|
|
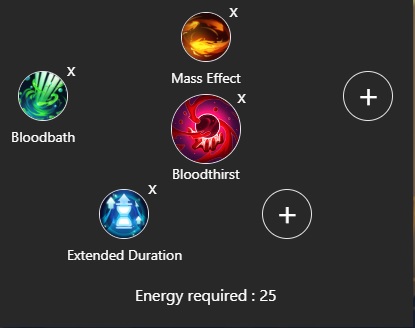
Increases Attack and Movement Speed, and provides Enlarged Physique effect at the cost of taking Damage over Time for its Duration. Eliminating or Hitting an Elite enemy has a chance to refresh Bloodthirst's Duration. This Ability's main purpose is to give us as much Increased Attack Speed and Movement Speed as possible. Support Skills:
|
| AURAS & PASSIVE SKILLS |
|
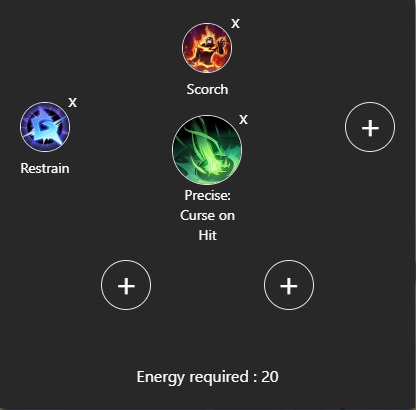
Casts 1 linked Curse on Enemies hit by the Main Skill. Curses applied this way have greatly decreased effects and duration, but increased radius. This passive, upgraded with Scorch, is a great way of improving our chance to Ignite enemies. Support Skills:
|
|
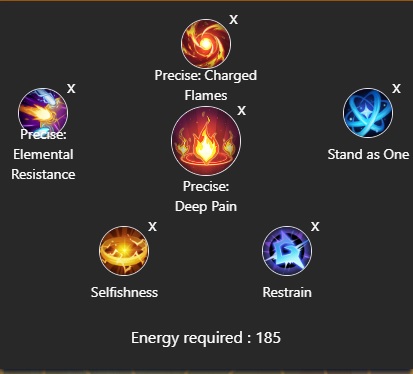
Additionally increased DoT Dealt for self and allies within range. Extends more DoT duration. DoT inflicts Affliction on enemies per second. When combined with Charged Flames and Elemental Resistance, this Passive offers a solid mix of offensive and defensive modifiers. Support Skills:
|
|
Triggers and casts 1 linked Defensive Skill at shorter regular intervals. Extends the duration of the triggered Skill. The linked Defensive Skill's effect will no longer be reduced. This gives us some much-needed defense, which is important as the rest of the chosen Skills are purely offensive (with the exception of the Ele Resistance we're getting from Deep Pain). Support Skills:
|

EQUIPMENT
| STAT PRIORITY | ||||||||||
|
Firstly, you will need as close to a 100% Chance to cause Ailments as possible. This can be added to Amulets and your Infinity Belt, for example. +X% Affliction Effect is another important stat you should stack. It pairs very well with Ailment Damage, which is another core stat you should go for. Crit Chance is amazing for improving the effects of Vile Talent. Some extra Attack Speed will be very beneficial as well. As for Defenses, you should definitely cap Erosion Resistance and have a hefty amount of Maximum Life, %Maximum Life, and Physical Damage Mitigation.
|
||||||||||
| CORE MODS | ||||||||||
|
||||||||||
| LEGENDARY ITEMS | ||||||||||
Infinity with Corrupted Open Wounds Mod is the first of the Legendary Items that are mandatory for this build. This is very important because of the Reap Purification Talent we're running. For this to work as intended, however, we need a 100% chance to Ignite and a 100% chance to Bleed enemies (and we stack both of these with both Talents and Gear).
King Lionheart's Ambition Is a perfect Weapon for this build because of its unique effect that Adds up to 40% of our main hand weapon's Physical Damage to our Base Ignite Damage per stack of Agility Blessing. It also increases our Fire Damage against Ignited Enemies per stack of Agility Blessing. As a result, this mighty Musket skyrockets our DPS and is a must-have if you want to make this build as it should be.
Feline Steps will allow us to stack Agility Blessings for our King Lionheart's Ambition very reliably which makes them another must-have item for this build. If you don't have these, you will have to run another Agility Blessing generator.
Sun's Embrace, despite the wording ("+1 Ignition Duration"), actually increases the maximum stacks of Ignite we inflict on enemies when you hit them. It also makes us apply 2 stacks of Ignite instead of 1. And this is without these mods being Corrupted! When Corrupted, it makes us apply 3 Ignite Stacks at once and allows us to have up to 4 Ignite Stacks active on enemies. As a result, it basically quadruples our Ignite Damage.
Touch of the Dark Surge offers a "Random bless affix". We take advantage of this and add an Affix that increases our maximum number of Agility Blessing Stacks to them. This is another major DPS increase for the build. As for the rest of the affixes, Main Skill Damage and Crit Rating are solid. |


|
END NOTE This is the beta version of our Electrifying Shot Ignite Carino Build for Torchlight Infinite. It is one of the strongest builds in the entire game and the most powerful Divineshot build that we know of. It was designed very carefully and requires some specific items/stats to work, but if you tick all the boxes it will reward you with insane damage numbers. As the game gets new content updates, we will be updating this guide regularly, though it may be impossible to be done after each Patch. |
Pictures used in this article are the intellectual property of XD Inc.