Boneshatter
Smith of Kitava Build
Updated for Path of Exile 2 Early Access
The Best Crafty Guides by Odealo
| Guide notes |
April 24, 2025
- Created for Early Access. |
| Build Overview |
| Tags: [MELEE] [PHYSICAL] [LIFE] [STARTER] |
|
Budget:
Defenses:
|


|
Boss DPS:
AoE:
|

|
It's one of the most basic, and one of the most popular, builds for Smith of Kitava. It consists of a big Mace, and a sturdy character with high Maximum Resistances, high Block Chance, and vastly reduced Damage taken of all types. Survivability truly is the selling point of this build. You can easily reach 90% Resistance to all Elemental damage types with the Coal Stoker and Forged in Flame passives. That is already a defensive layer inobtainable for other classes. Smith's Masterwork will be a source of Life Regeneration, partial Physical-to-Fire Damage Shift, 20% increased Strength, and 15% increased Maximum Life. That takes care of the Physical Damage mitigation, Life Recovery, Maximum Life, and an absurd Strength requirement to wield a two-hand weapaon with Shield. Shield grants Block Chance, rendering you impenetrable.
The damage stems from the combination of various abilities. Leap Slam and Boneshatter are the two core skills used while mapping. Leap Slam causes enemies to be Primed for a Stun, while the Boneshatter causes a Heavy Stun on those Primed enemies. This will also trigger a powerful Shockwave that detonates the entire screenfull of enemies. Against bosses, you will use Eartshatter and Hammer of the Gods. Earthsatter Breaks Armour, while the Hammer does the damage. You won't need to worry about Mana with Blood Magic allocated, nor accuracy with Resolute Technique. The biggest obstacles will be reaching high Block Chance, Chaos Resistance, and getting enough Strength. Other than that, it's a very cheap build; suitable for SSF and Hardcore environments.
You can also check our other Path of Exile 2 builds right over here Odealo's Crafty Guides - Full List
1. Gameplay
Jump with Leap Slam unto enemies. If that doesn't make them Primed for Stun, invest more into Stun Buildup - Overwhelming Presence helps a lot. Then, hit one of them with Boneshatter. Combined with Herald of Ash it will create a chain reaction that kills all the monsters. Against bosses, attack with Earthshatter a few times. This will Break Armour and generate Rage. Spikes can be detonated with Seismic Cry. If the boss has its armour broken, use Hammer of the Gods, but be sure it's empowered by Infernal Cry first.
|
 
Odealo is a secure trading platform for MMO gamers. Here you can buy, sell, and trade PoE 2 Currency for real cash.
|
2. Build's PROS & CONS
| PROS |
- probably to tankiest out of all builds as of 0.2
- very good clear speed
- very affordable
|
| CONS |
- sluggish
- multiple buttons to press
|
3. Leveling tips
It's a simplified version of the build you're aiming towards. The core loop remains more or less the same, you just won't use Earthsatter. Instead, the default Mace Strikes will prepare the tough enemies for a Hammer. The transition into the end-game build is gradual, so there's not much else to add in this section.
| [DPS] Boneshatter setup |
 |
Boneshatter |
 |
Impact Shockwave |
 |
Reach |
 |
Devastate |
| [UTILITY] Leap Slam setup |
 |
Leap Slam |
 |
Brink |
 |
Martial Tempo |
 |
Overpower |
| [UTILITY] Mace Strike setup |
 |
Mace Strike |
 |
Ruthless |
|
Overpower |
 |
Close Combat |
| [DPS] Hammer of the Gods setup |
 |
Hammer of the Gods |
 |
Heavy Swing |
 |
Heft |
 |
Fist of War |
| [UTILITY] other gems |
 |
Herald of Ash |
 |
Overwhelming Presence |
 |
Infernal Cry |
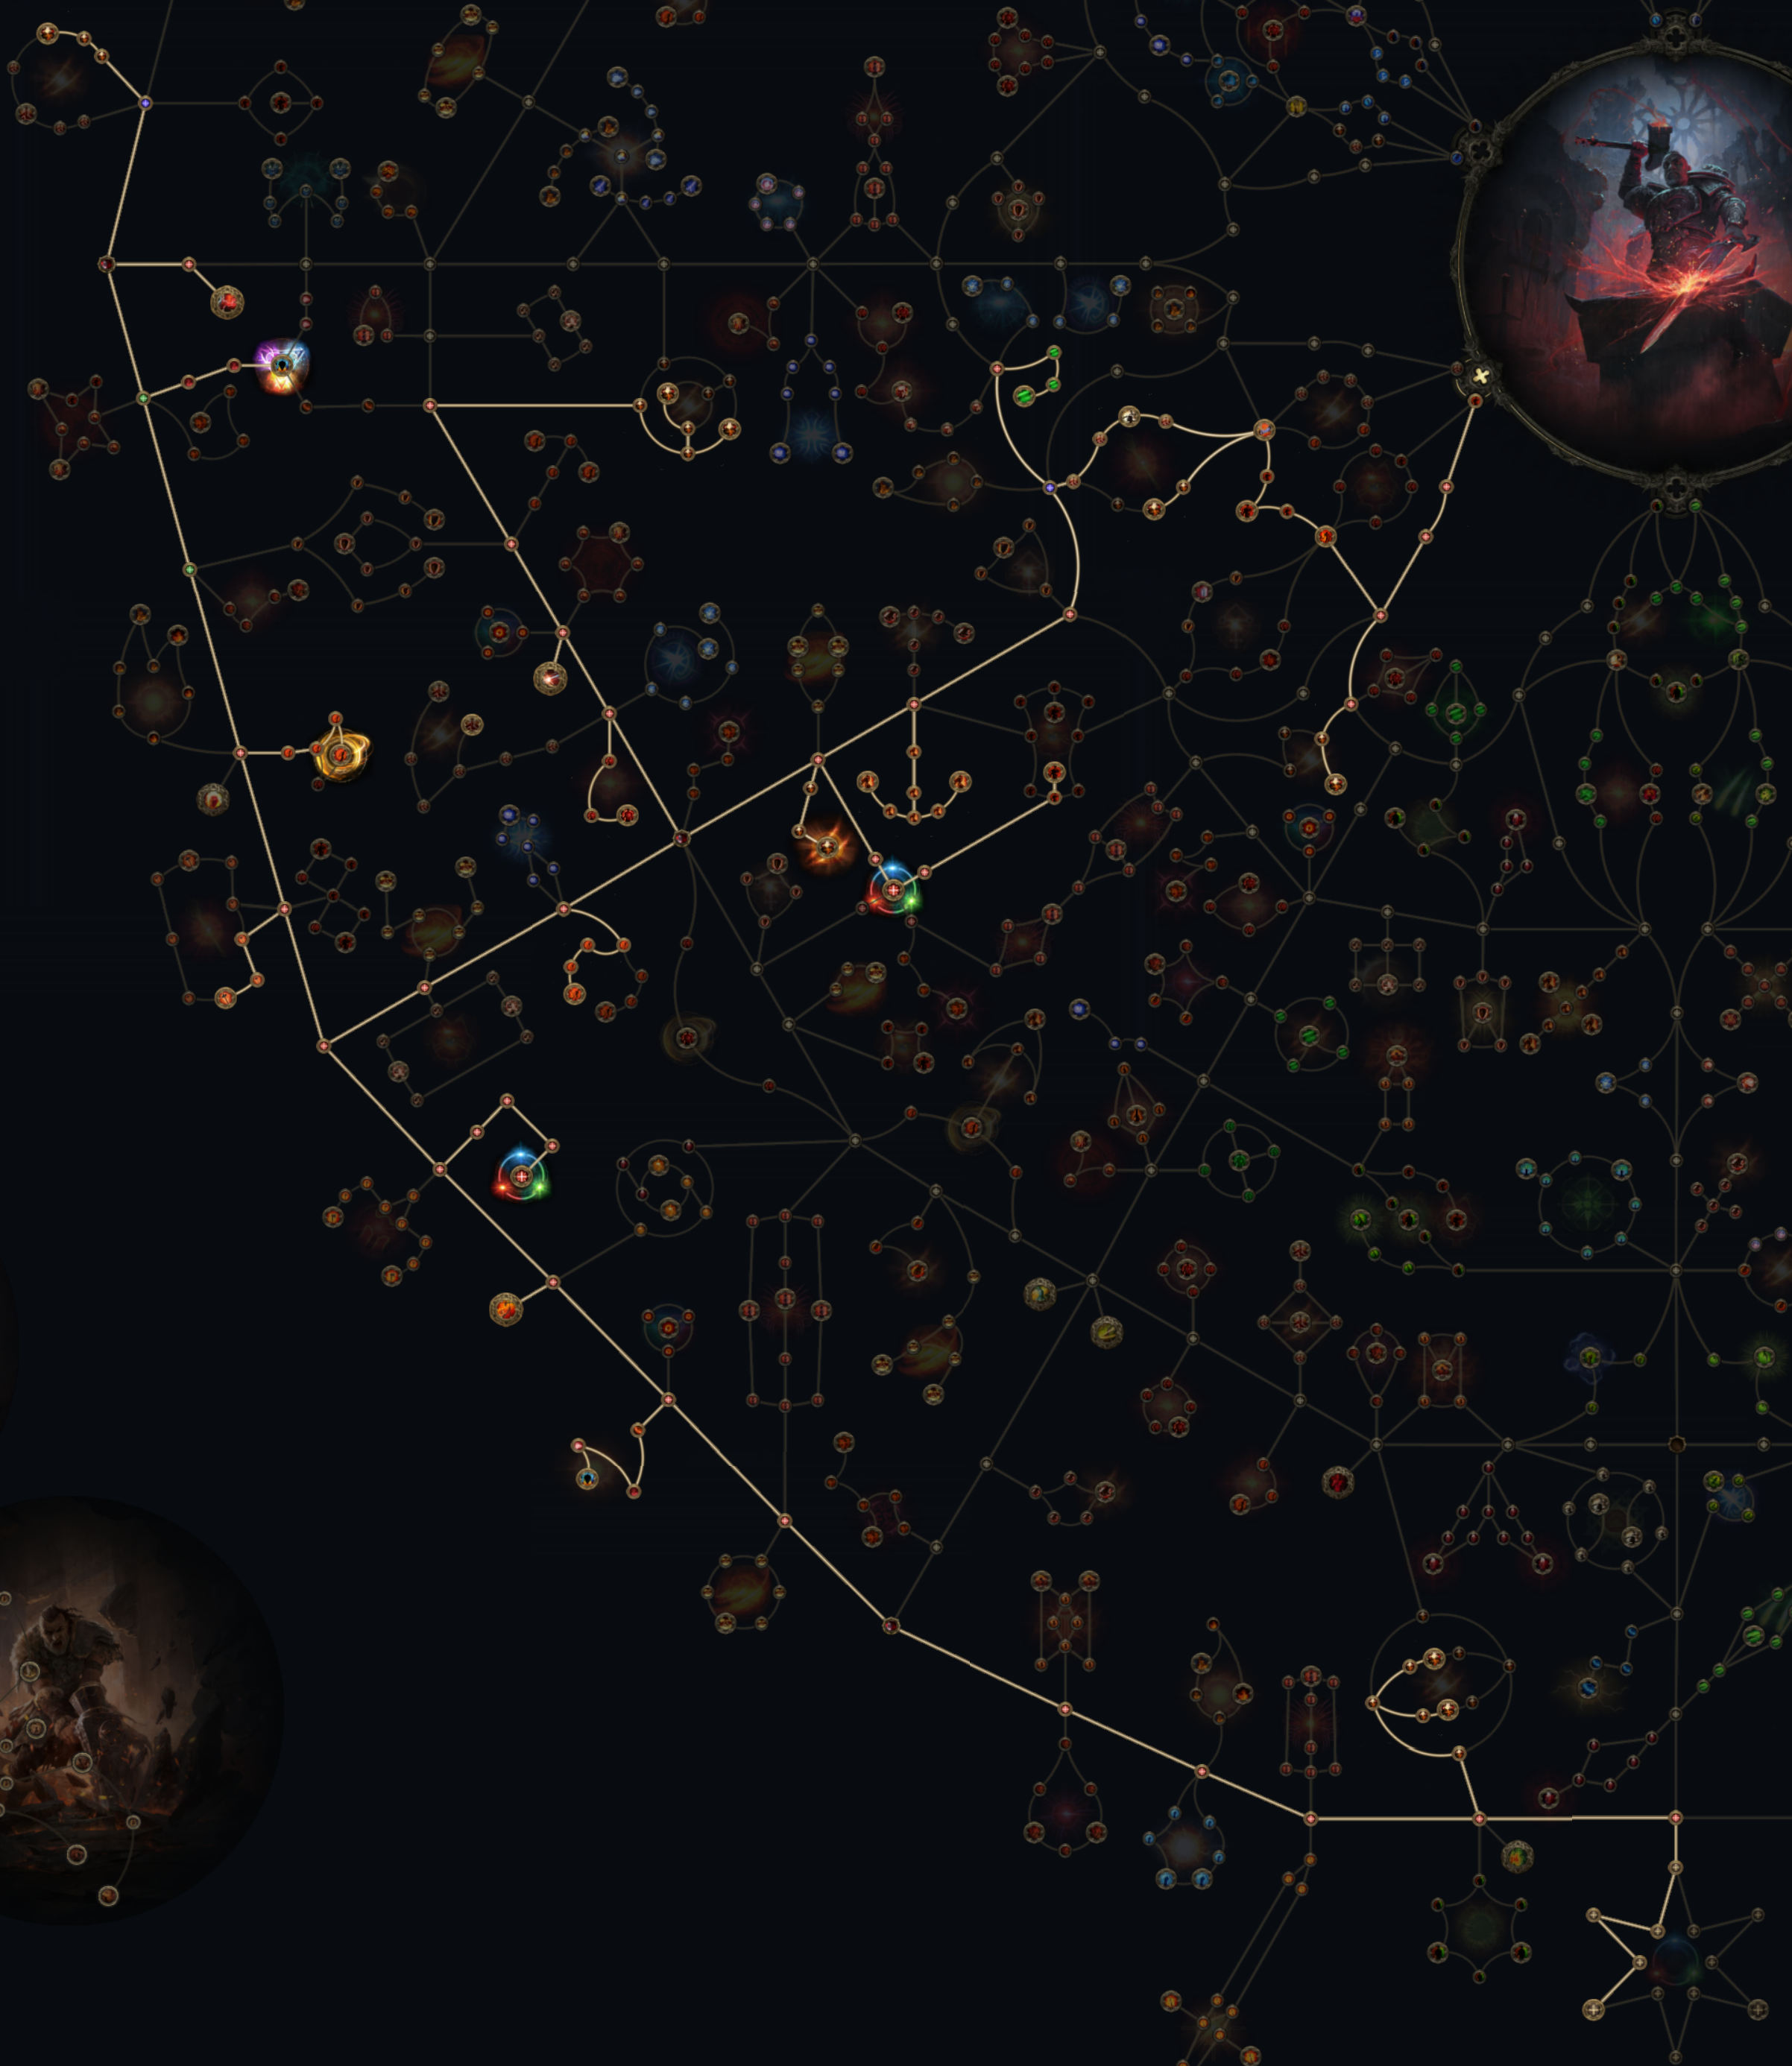
4. Final Skill Tree, Ascendancy Points, and Pantheon
Final Skill Tree:
|
|
Click on the image to open the Passive Tree preview in a new window
Or import the build into PoB:
Path of Building 2 code
|
Ascendancy points:
Preferably in this order:
- Coal Stoker
- Forged in Flame
- Smith's Masterwork - Kitavan Engraving
- Smith's Masterwork - Support Straps
- Smith's Masterwork - Molten Symbol
- Smith's Masterwork - Leather Bindings (or Flowing Metal)
5. Final Gems links
| [DPS] Hammer of the Gods setup |
|
Hammer of the Gods - The most powerful Attack that requires Glory to use. Use it against bosses, but be sure you meet the conditions imposed by some of the Support Gems to get the most out of it. |
|
Heft - 30% more Maximum Physical Damage. |
|
Heavy Swing - Less Attack Speed, but much more Physical Damage. |
|
Fist of War - A significant damage boost once every 6 seconds. There will be no opportunity to use it more often than that. |
 |
Lacerate - 50% chance to Inflict Bleeding, which deals Physical Damage over Time based on the initial Hit Damage. |
 |
Exploit Weakness - 40% more Damage against enemies with Fully Broken Armour. Use Hourglass instead if you don't always meet this condition for 30% more Damage. |
| [DPS] Boneshatter setup |
|
Boneshatter - A Strike Attack that causes a Heavy Stun against enemies Primed for Stun, in which case it also releases a Shockwave. Use it against packs of enemies. |
|
Impact Shockwave - Upon executing a Heavy Stun, it unleashes a Shockwave that deals damage once again. |
|
Reach - 35% more AoE with no drawback if you have the Resolute Technique allocated, which you should. |
|
Devastate - Boneshatter Fully Breaks Armour on Heavy Stun. You may replace it with Fire Infusion if it suits your needs better. |
 |
Defy - Damage is Lucky if Surrounded. It can be replaced with Close Combat for more reliable damage. |
 |
Magnified Effect - 30% more AoE. |
| [DPS] Earthshatter setup |
 |
Earthshatter - A Slam Attack used to deal damage, Break Armour, and build up Stun. You will use it against bosses to prepare them for The Hammer. It creates spikes that can be detonated with Warcries. |
 |
Rage - Generates Rage. If you don't need it here, use Reverberate instead. |
 |
Upheaval - Less Attack Speed and Damage, but more Fissures per skill use, which results in more damage overall. |
 |
Splinter - Earthshatter Breaks Armour. |
 |
Aftershock - 25% chance to cause an Aftershock. |
| [UTILITY] Leap Slam setup |
|
Leap Slam - A movement skill that is also good for building up Stun, especially on enemies with Fully Broken Armour. |
|
Martial Tempo - 20% more Attack Speed. |
|
Overpower - 50% more Stun buildup. |
|
Brink - Guarantees that Leap Slam cannot Stun, keeping enemies Primed for it instead. Deals more Damage to Heavy Stunned enemies. |
 |
Holy Descent - Creates Consecrated Fround on landing. |
| [UTILITY] Infernal Cry setup |
|
Infernal Cry - Consumes Endurance Charges to Empower your Attacks, but it always Empowers at least one anyway. Enemies in radius will Combust on kill. Use it as you're about to hit bosses with The Hammer. |
 |
Premeditation - 15% more Damage with Empowered Attacks. |
 |
Tireless - 30% chance to not lower the Empowerment count. |
 |
Enraged Warcry - 30% more Damage with Empowered Attacks if the Warcry has the opportunity to consume 10 Rage. |
| [UTILITY] Herald of Ash setup |
|
Herald of Ash - Slain enemies explode on death which Ignites other monsters based on the Overkill damage which slew them. |
 |
Deadly Herald - 30% more Herald Damage. |
 |
Fire Mastery - +1 to Gem Level of Herald of Ash. |
| [UTILITY] Overwhelming Presence setup |
|
Overwhelming Presence - Nearby enemies are easier to Stun. |
 |
Cannibalism - Recover 2% of Maximum Life on Kill. |
| [MOBILITY] Shield Charge setup |
 |
Shield Charge - A skill used with Shield to move faster for a brief moment. |
 |
Ingenuity - 30% increased cooldown recovery rate. |
 |
Stomping Ground - Triggers Shockwaves while moving, the damage of which is tied to your Strength. |
| [UTILITY] Seismic Cry setup |
 |
Seismic Cry - Deals Damage, Knocks Back enemies, and empowers your next Attack, if caused a Heavy Stun, for every Endurance Charge consumed. Empowered Attacks perform an additional Aftershock. |
 |
Inspiration - 30% less Cost of Seismic Cry. |
 |
Raging Cry - Generates 4 Rage per 5 Power. |
 |
Dazing Cry - Skill also Dazes enemies. |
|
On Odealo dozens of sellers compete for your attention. Buying PoE 2 Currency here guarantees the best prices, prompt delivery, and the best quality of service.
|
6. Gear Setup
Gearing should be fairly easy, it needs the basic Maximum Life, Fire Resistance, and Maximum Fire Resistance. Remember, with Coal Stoker and Forged in Flame keystones, you won't need other resistances. You will also need a normal Body Armour for bonuses from Smith's Masterwork. You won't need any Uniques, but we will recommend some of the best ones. The build can work on Rares perfectly fine. With Giant's Blood, you will be able to wield a two-hand Mace and a Shield, but that requires you to have a lot of Strength on pretty much every gear piece. The type of damage you're dealing is mainly Physical. To increase your survivability, cap your Resisances at 90%, get more Maximum Life, Block Chance, Armour, and a way to Recover Life. You will need no Accuracy.
|
Stat priorities on items:
- Fire Resistance
- Maximum Fire Resistance
- Weapon's Physical Damage
- Attribute Requirements, mainly Strength
- Maximum Life
- increased Stun Buildup
- Gem Level of Melee Skills
- increased Physical Damage
- Armour
- Chaos Resistance
|
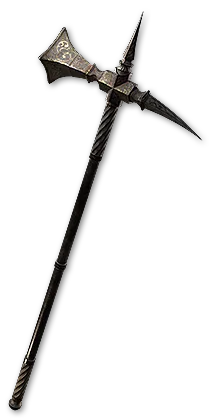 (Weapon) Rare Mace - Get a Mace with high Physical Hit Damage, and maybe Strength, since it will be needed to wield it. The Level of all Melee Skills can be a great addition. (Weapon) Rare Mace - Get a Mace with high Physical Hit Damage, and maybe Strength, since it will be needed to wield it. The Level of all Melee Skills can be a great addition. |
Min. requirements:
increased Physical Damage
added Physical Damage
Optional affixes:
Grants Life per Enemy Hit
Strength
increased Attack Speed
+# to Level of all Melee Skills |
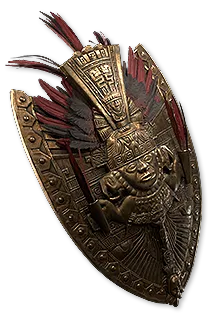 (Off-hand) Rare Shield - Shield is for Block Chance, Maximum Life, Additional Physical Damage Reduction, Strength, and Resistances. (Off-hand) Rare Shield - Shield is for Block Chance, Maximum Life, Additional Physical Damage Reduction, Strength, and Resistances. |
Min. requirements:
Maximum Life
Fire or Chaos Resistance
Strength
Optional affixes:
Increased Block Chance
increased Armour
Additional Physical Damage Reduction |
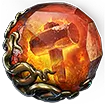
 (Off-hand) Chernobog's Pillar - Combine it with a high Block Chance from the Passive Skill Tree to gain tons of Fire Damage. It only lacks Maximum Life. (Off-hand) Chernobog's Pillar - Combine it with a high Block Chance from the Passive Skill Tree to gain tons of Fire Damage. It only lacks Maximum Life. |
Grants Skill: Raise Shield
(100-150)% increased Armour
+(30-40)% to Fire Resistance
+(23-29)% to Chaos Resistance
+(150-200) to Stun Threshold
Gain 1% of damage as Fire damage per 1% Chance to Block |
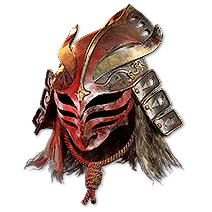 (Helmet) Thrillsteel - Onslaught increases Movement and Attack Speed, so it's good if you don't need anything but mobility. If you feel like it's a waste of the Helmet slot, just go for a Rare with the most basic stats. (Helmet) Thrillsteel - Onslaught increases Movement and Attack Speed, so it's good if you don't need anything but mobility. If you feel like it's a waste of the Helmet slot, just go for a Rare with the most basic stats. |
| Onslaught |
 (Helmet) The Deepest Tower - To benefit from enemies being always on Low Life, link one of your skills with Execute, and allocate Finality, Stars Aligned, and Finishing Blows. And stand close to your foes. (Helmet) The Deepest Tower - To benefit from enemies being always on Low Life, link one of your skills with Execute, and allocate Finality, Stars Aligned, and Finishing Blows. And stand close to your foes. |
(70-130)% increased Armour and Energy Shield
+(70-100) to maximum Life
+(17-23)% to Chaos Resistance
50% reduced Presence Area of Effect
10% reduced Light Radius
Enemies in your Presence count as being on Low Life |
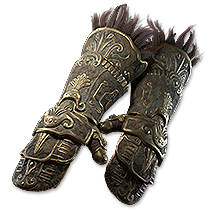 (Gloves) Rare Gloves - Gloves have plenty of offensive modifiers, such as Gem Level for Melee Skills, added Damage, and Attack Speed. It's wise to grab them here. (Gloves) Rare Gloves - Gloves have plenty of offensive modifiers, such as Gem Level for Melee Skills, added Damage, and Attack Speed. It's wise to grab them here. |
Min. requirements:
Maximum Life
Level of all Melee Skills
Strength or Dexterity
Optional affixes:
Fire and Chaos Resistance
increased Attack Speed
Added Physical Damage to Attacks |
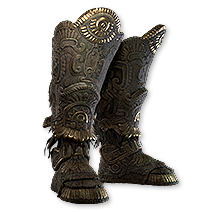 (Boots) Rare Boots - Boots will get you Movement Speed, Maximum Life, Resistances, and Strength. Not much else. (Boots) Rare Boots - Boots will get you Movement Speed, Maximum Life, Resistances, and Strength. Not much else. |
Min. requirements:
increased Movement Speed
Strength
Maximum Life
Optional affixes:
Fire or Chaos Resistance
Armour |
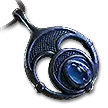 (Amulet) Rare Amulet - The only item that offers Spirit, so get it here if you need it. You shouldn't but some of the Support Gem may impose this requirement. Other than that, just get Gem Level, Attributes, Life, and Resistances. (Amulet) Rare Amulet - The only item that offers Spirit, so get it here if you need it. You shouldn't but some of the Support Gem may impose this requirement. Other than that, just get Gem Level, Attributes, Life, and Resistances. |
Min. requirements:
Maximum Life
Fire or Chaos Resistance
Attributes
Optional affixes:
+# to Level of all Melee Skills
Spirit |
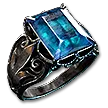 (Ring) Rare Ring - Rings will be quite similar to the Amulet, but instead of Gem Level to all Melee Skills, here you can get added Damage, or Life/Mana Leech from Physical Damage. (Ring) Rare Ring - Rings will be quite similar to the Amulet, but instead of Gem Level to all Melee Skills, here you can get added Damage, or Life/Mana Leech from Physical Damage. |
Min. requirements:
Maximum Life
Fire or Chaos Resistance
Attributes
Optional affixes:
Added Physical Damage to Attacks
Life per Enemy Killed
Life Leech |
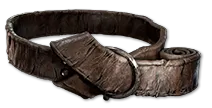 (Belt) Rare Belt - Infernoclasp is way better than any Rare Belt, especially since it doesn't really offer any uniquely good modifiers, just plain Life, Resistances, and Strength. (Belt) Rare Belt - Infernoclasp is way better than any Rare Belt, especially since it doesn't really offer any uniquely good modifiers, just plain Life, Resistances, and Strength. |
Min. requirements:
Fire or Chaos Resistance
Maximum Life
Strength
Optional affixes:
Flask or Charm modifiers |
 (Belt) Infernoclasp - Aim for high roll on Maximum Fire Resistance. Combined with Strength and regular Fire Resistance, it's the best Belt for nearly any Smith of Kitava. (Belt) Infernoclasp - Aim for high roll on Maximum Fire Resistance. Combined with Strength and regular Fire Resistance, it's the best Belt for nearly any Smith of Kitava. |
+(100-140) to Armour
Has (1-3) Charm Slots
+(100-150) to Armour
+(10–20) to Strength
+(3-5)% to Maximum Fire Resistance
+(30-50)% to Fire Resistance |
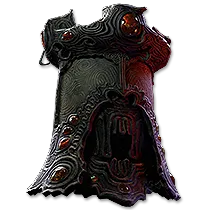
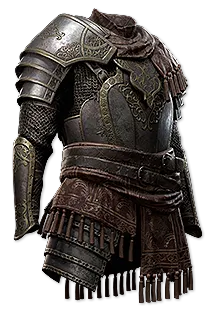 (Body Armour) Normal Body Armour - No Explicit modifiers on it. It has to be a normal, white item. Get the Ornate Plate for the inherent Life Recovery, and remember to add Rune Slots and increase Quality. After that, try Corrupting it. (Body Armour) Normal Body Armour - No Explicit modifiers on it. It has to be a normal, white item. Get the Ornate Plate for the inherent Life Recovery, and remember to add Rune Slots and increase Quality. After that, try Corrupting it. |
Min. requirements:
Life Regeneration (Implicit)
Optional affixes:
Additional Physical Damage Reduction (Corrupted Implicit) |
 (Jewel) Rare Ruby Jewels - Rubies are the most likely to get you suitable mods for damage with Maces, rage on hit, Maximum Fire Resistance, and increased Stun Buildup. (Jewel) Rare Ruby Jewels - Rubies are the most likely to get you suitable mods for damage with Maces, rage on hit, Maximum Fire Resistance, and increased Stun Buildup. |
Optional affixes:
Rain 1 Rage on Melee Hit
increased Melee Damage
Maximum Fire Resistance
increased Stun Buildup
increased Block Chance |
|
Odealo is one of the biggest Path of Exile 2 marketplaces. It allows regular players to buy, sell, and trade PoE 2 Currency with the use of real cash
|
If you have any other build requests please leave that in the comments below. We are always open to suggestions and constructive feedback.
Pictures used in this article are the intellectual property of Grinding Gear Games.